Here’s a break down of each tool/product I use in my eyebrow routine:
Tweezers: Go easy! I went overboard in high school with pencil thin eyebrows and am now suffering the consequences. Ha! It’s easier if you tweeze your brows after you fill them in, so you know what hairs you want to keep and what hairs you don’t!
Brow/Nail Scissors & Spoolie: I use these two tools to trim my eyebrows. Another step that makes a big difference! I just brush my eyebrow hairs upwards with the spoolie, hold it there, and then trim the access.
Brow Powder Duo & Brush: The most important products in this whole routine! If you buy anything in this post, have it be this stuff. The two colors makes it an easy task to achieve the most natural looking brow.
The Anastasia Beverly Hills Brow Wiz is a great alternative to the duo powder if you would rather use a pencil. I just prefer the powder.
Brow gel: I don’t use this daily, but if your brows are unruly, this stuff works magic for keeping them in place!
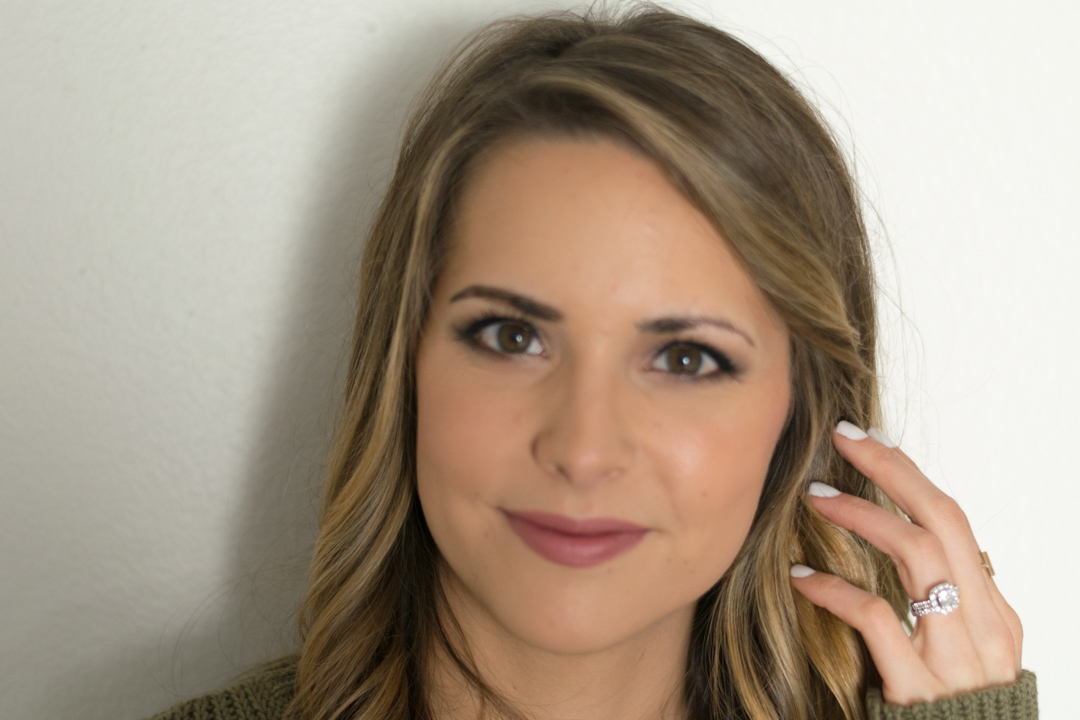
Filled vs. Not filled… quite the difference, right?! This is how it’s done:
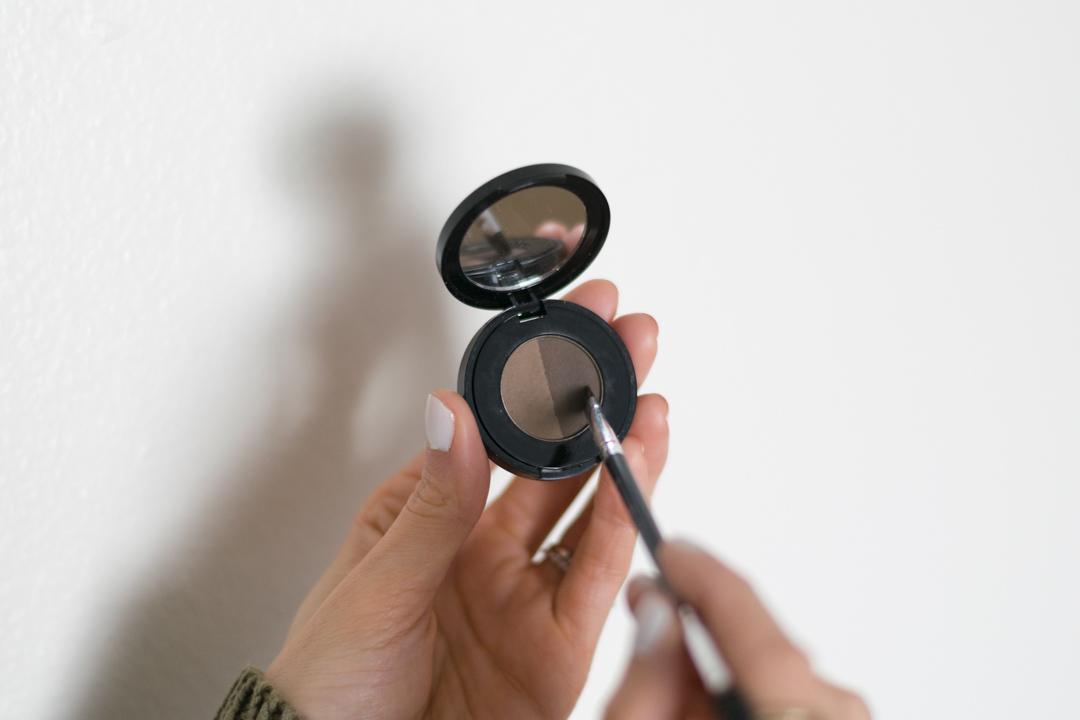
Step 1: Grab some of the powder on the dark side of the duo.
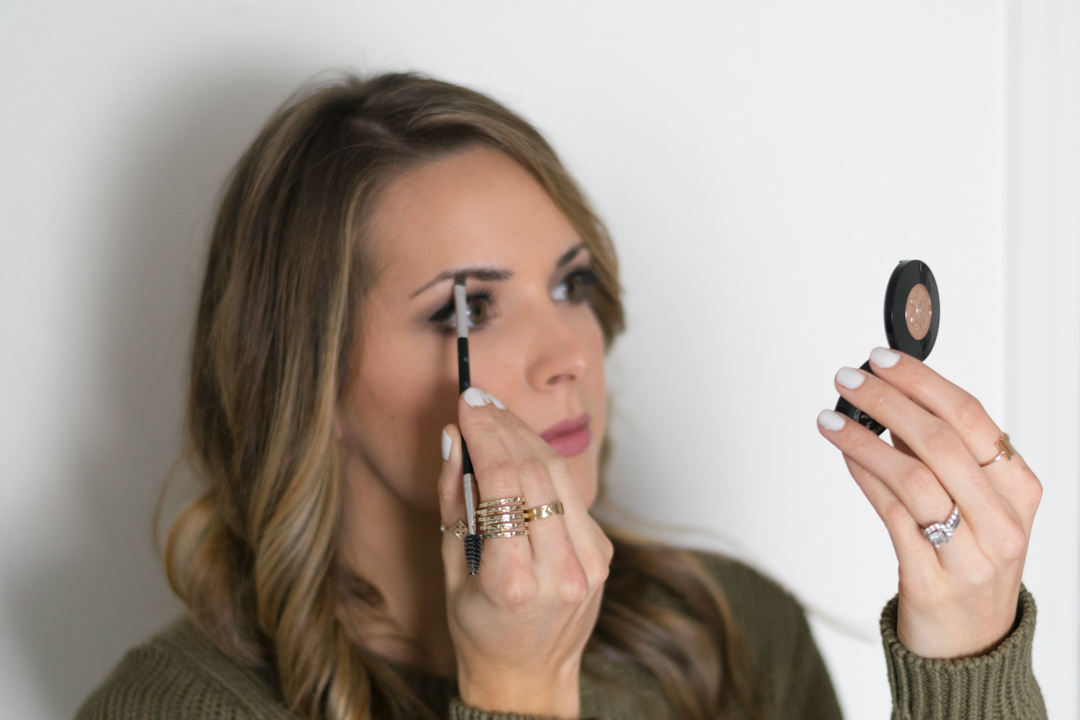
It truly doesn’t matter where you start on your brow – but I always start here. I always need extra help from this powder on this area specifically!
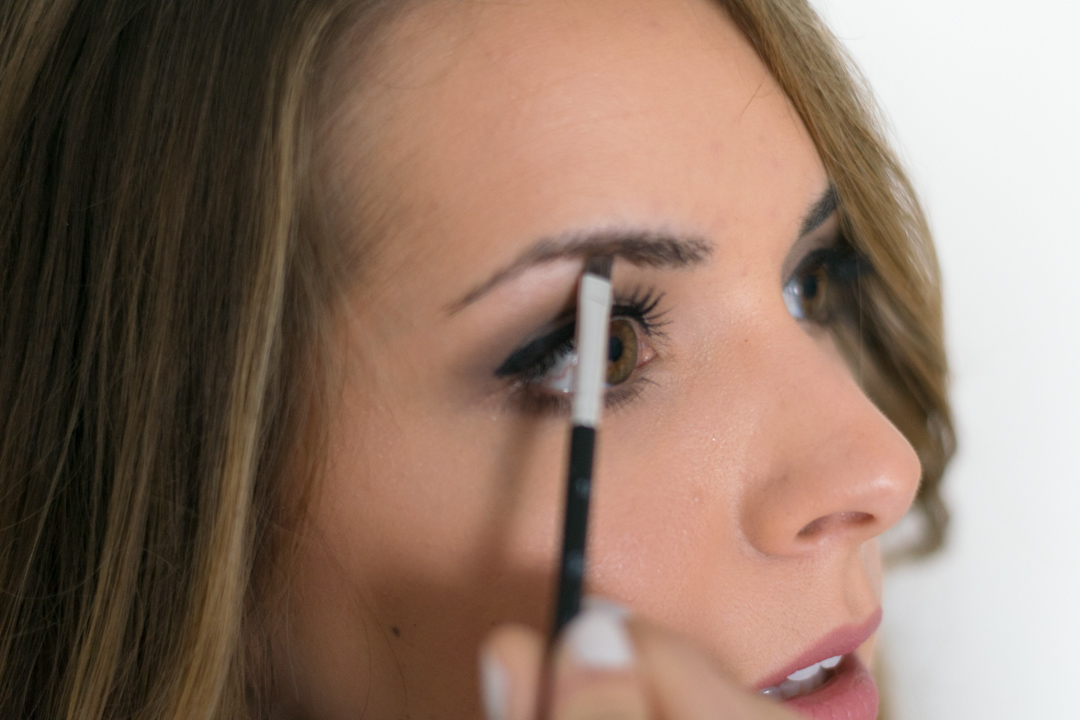
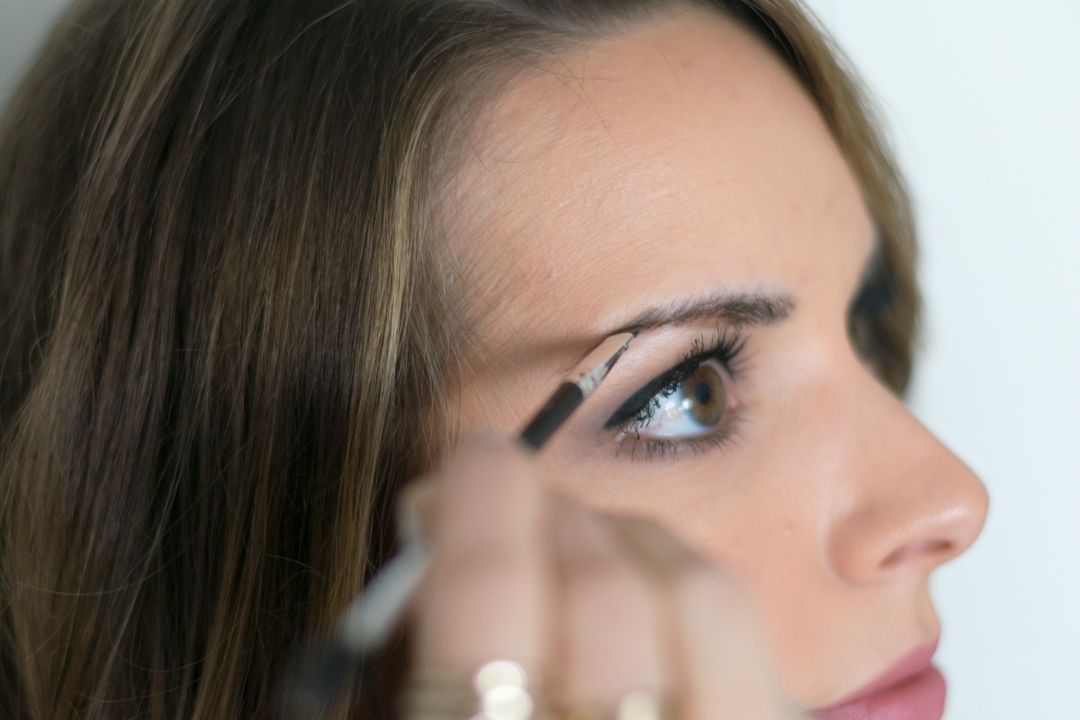
Make your way towards the arch of your brow with that same dark color.
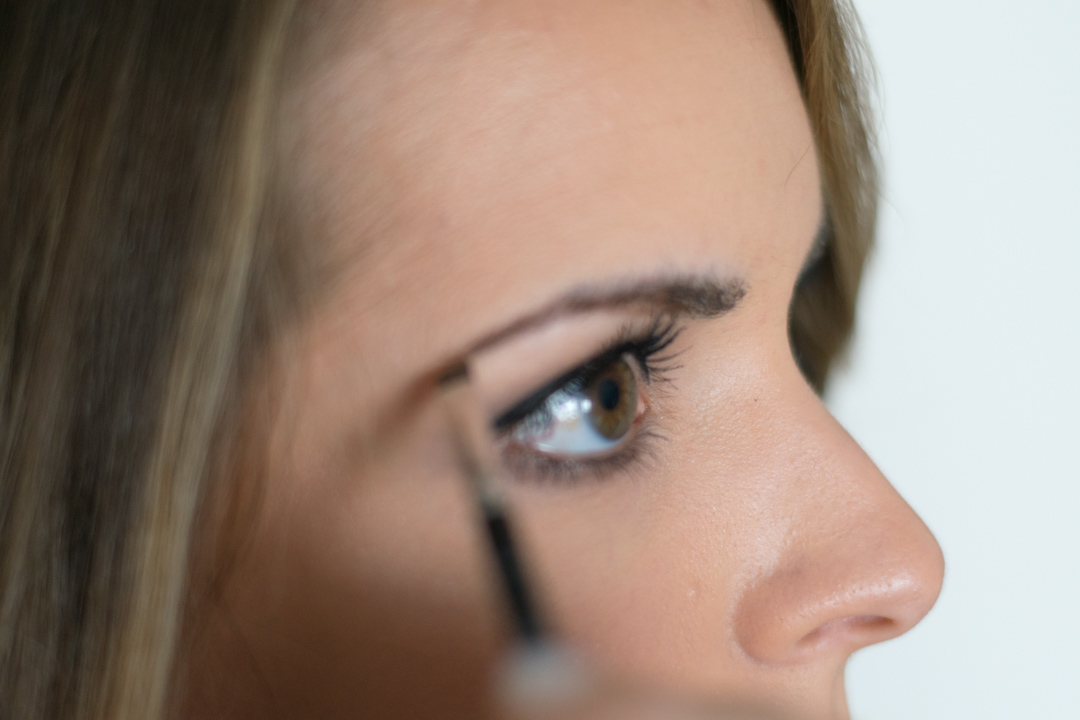
Step 2: Grab more of the dark color to fill in the “tail” lower end of your eyebrow. This should truly be the darkest part of your eyebrow — also why the eyebrow powder has two shades. 🙂
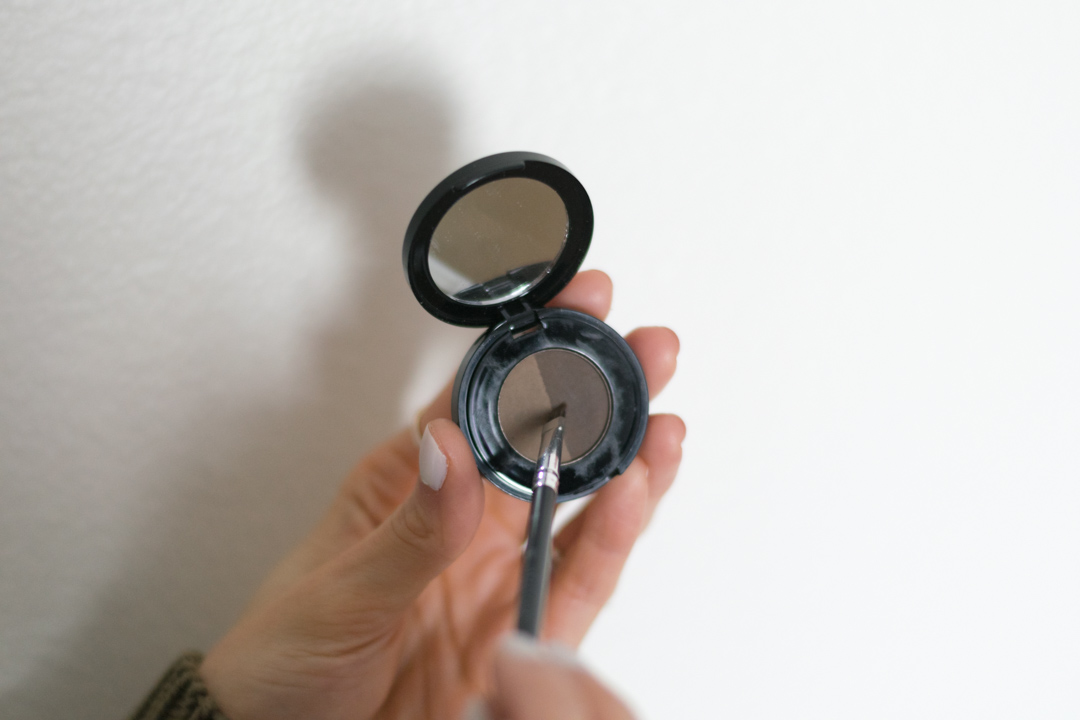
Step 3: After I am done filling out the lower end, place your brush in the center of the two powders to grab both colors. I use both of the colors to fill the upper end part of my brows.
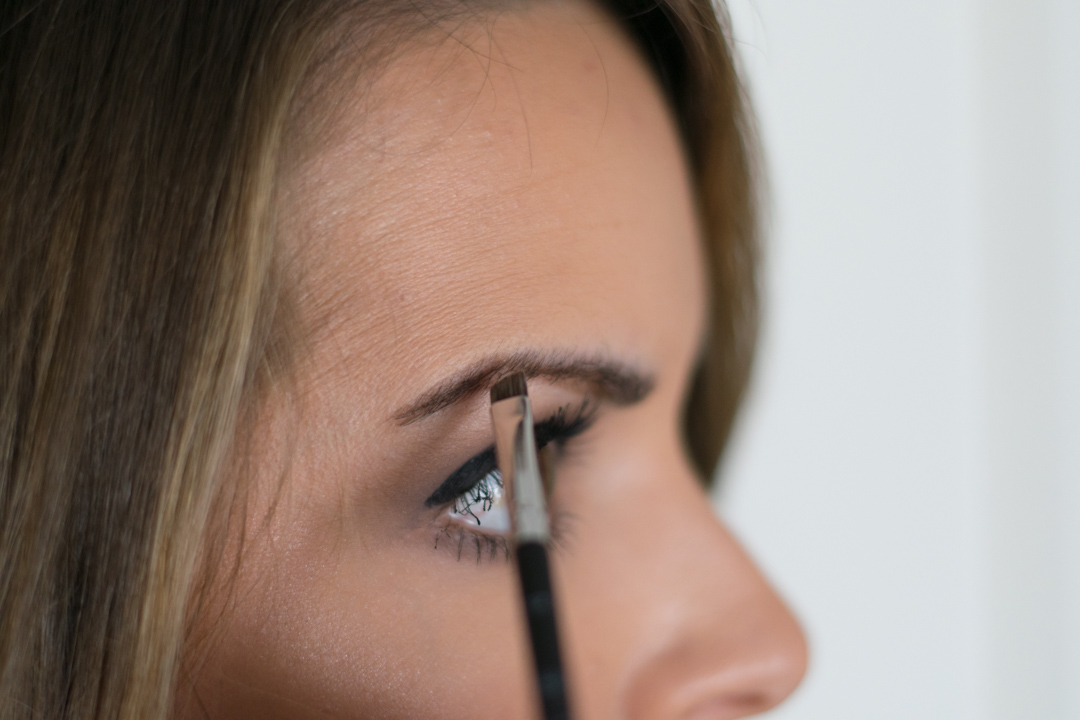
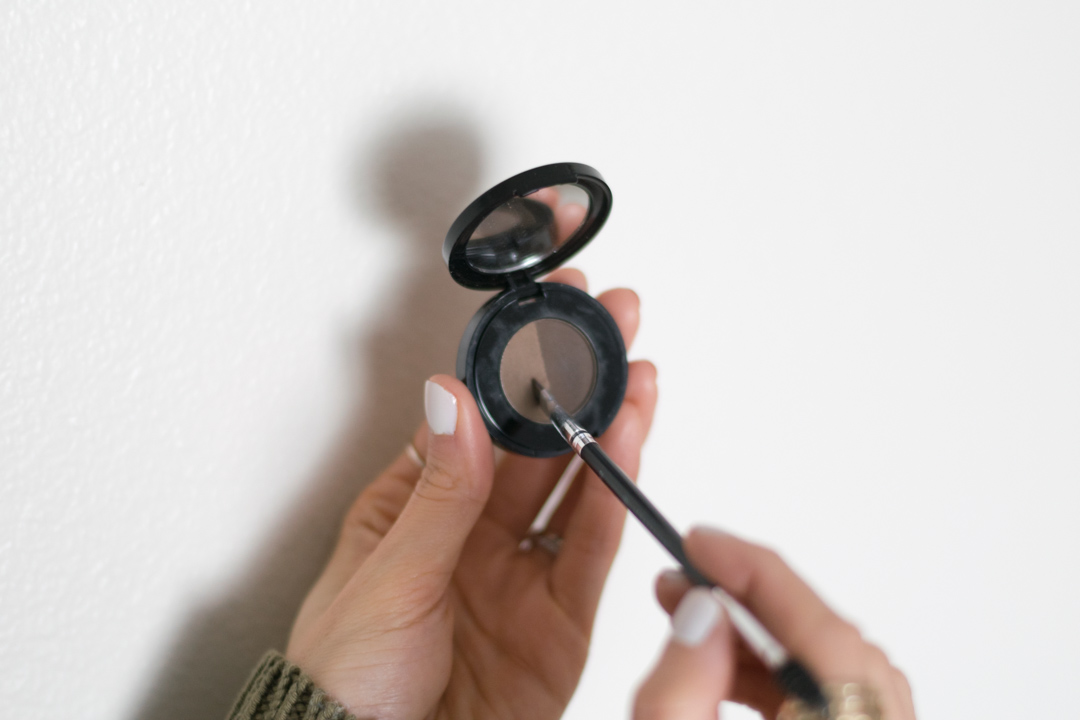
Step 4: As I make my way towards the upper front of my brow, I will grab the lighter shade to fill in the rest of the top part of my brow.
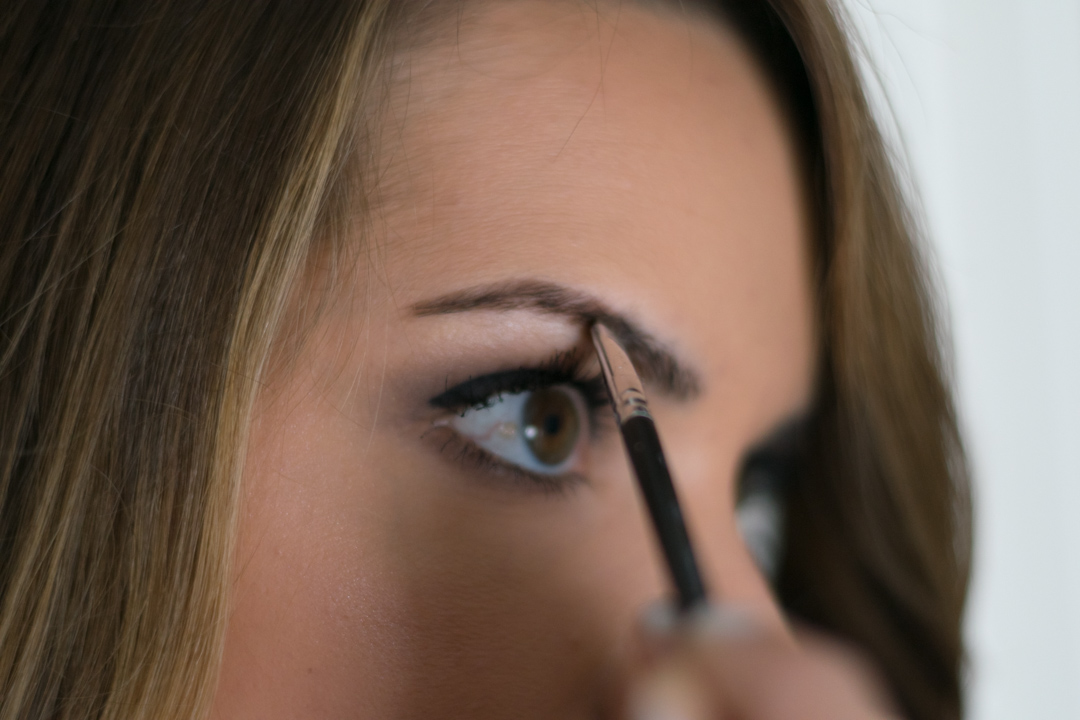
Usually, this part doesn’t take too much product and goes fairly quickly.
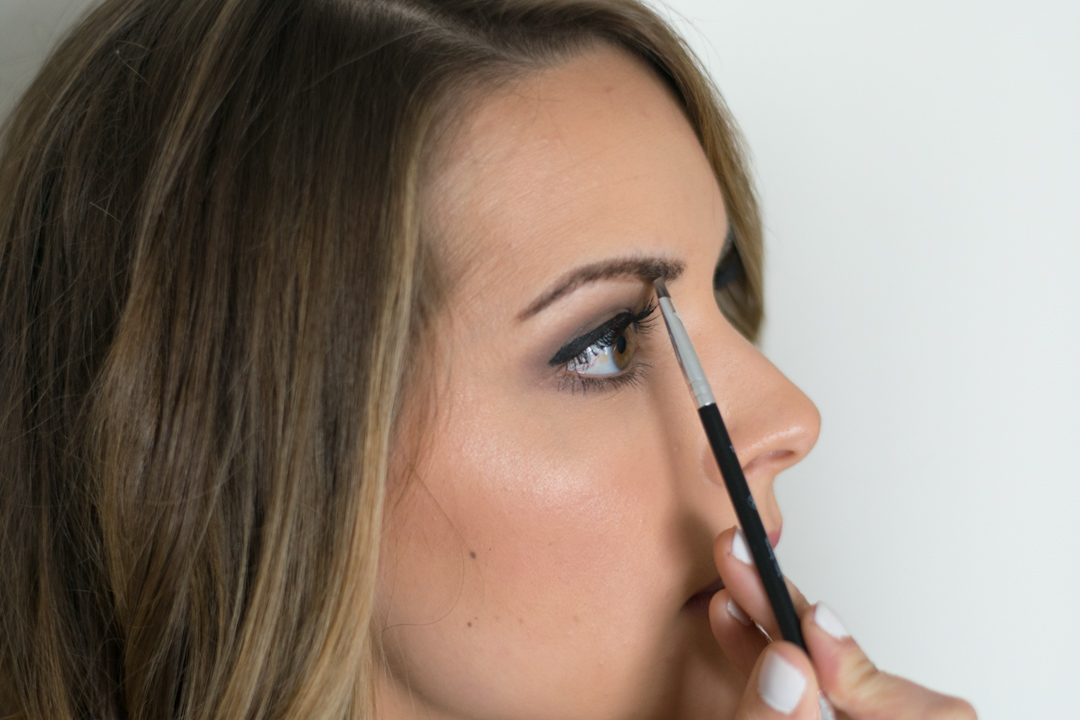
Step 5: Grab a little more of the lighter shade to fill in the front part of your brow. I try to make the front/inside parts of my brow to be somewhat of a square shape. In order to avoid a unibrow, many people will over-tweeze the gap between their brows. But this actually disrupts the proportions of your face, making your eyes appear farther apart and your nose bigger than it actually is. The rule of thumb is to have the inside edges of your brows line up with the outer bridge of your nose.
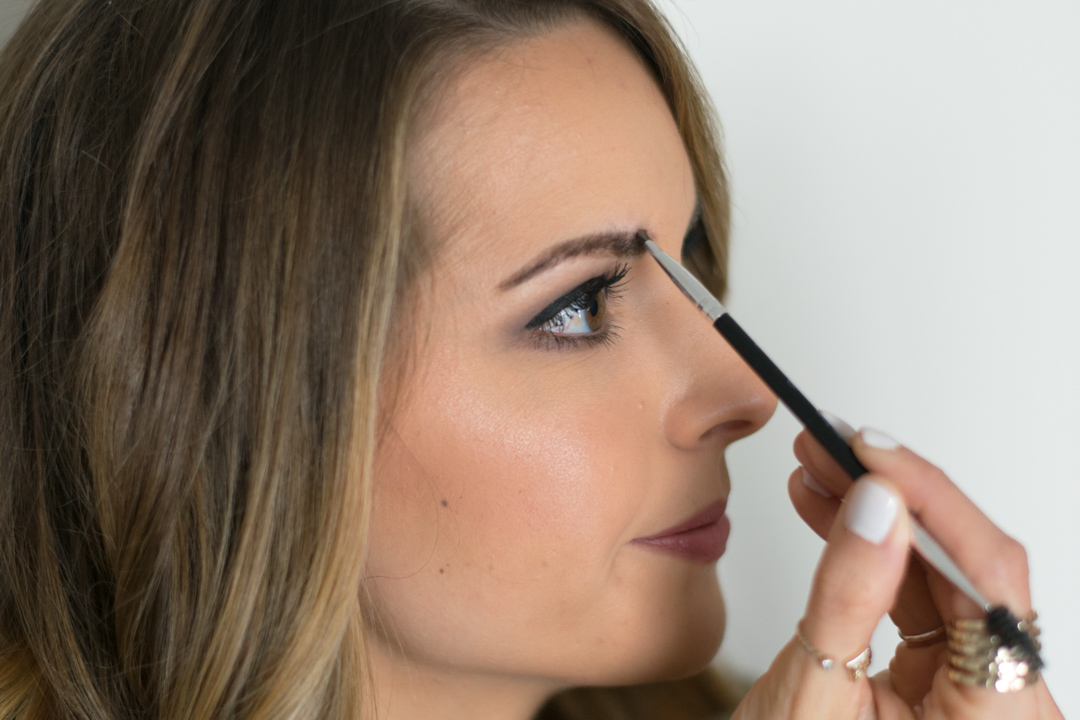
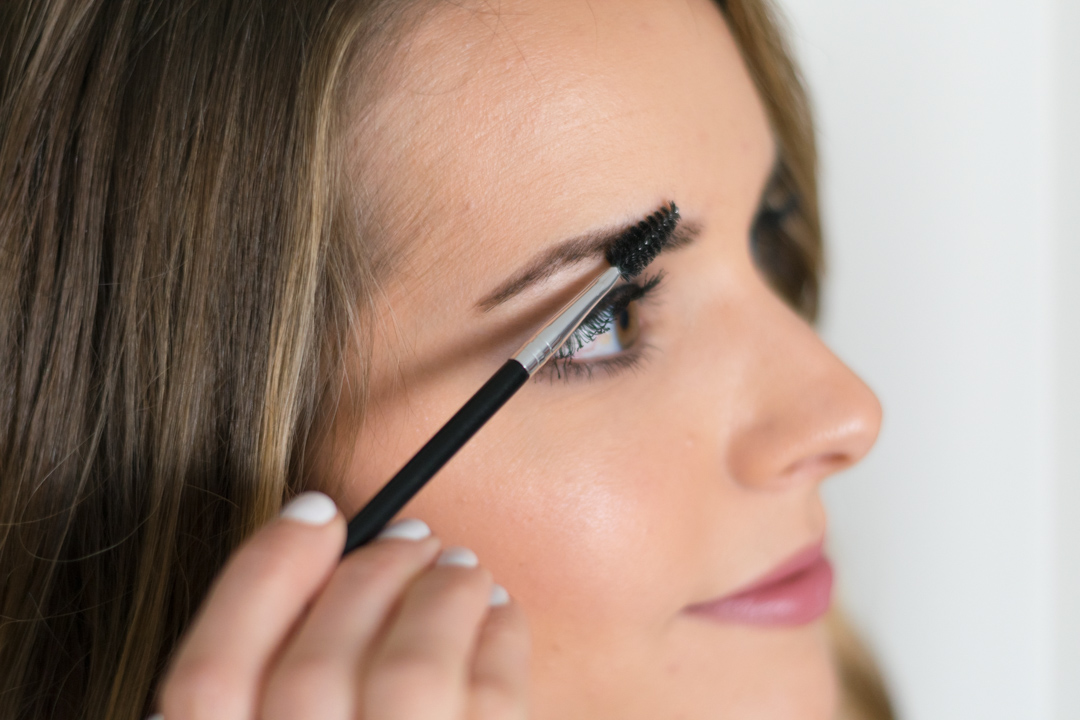
Step 6: Lightly blend your brows with the spoolie end of your brush. Once in a while I will have to go back and fill in parts that the spool took off. But this is a very important step to make sure that your brows are blended and don’t look too harsh! 🙂 On occasions, I will also set my brows with the brow gel that I mentioned above.
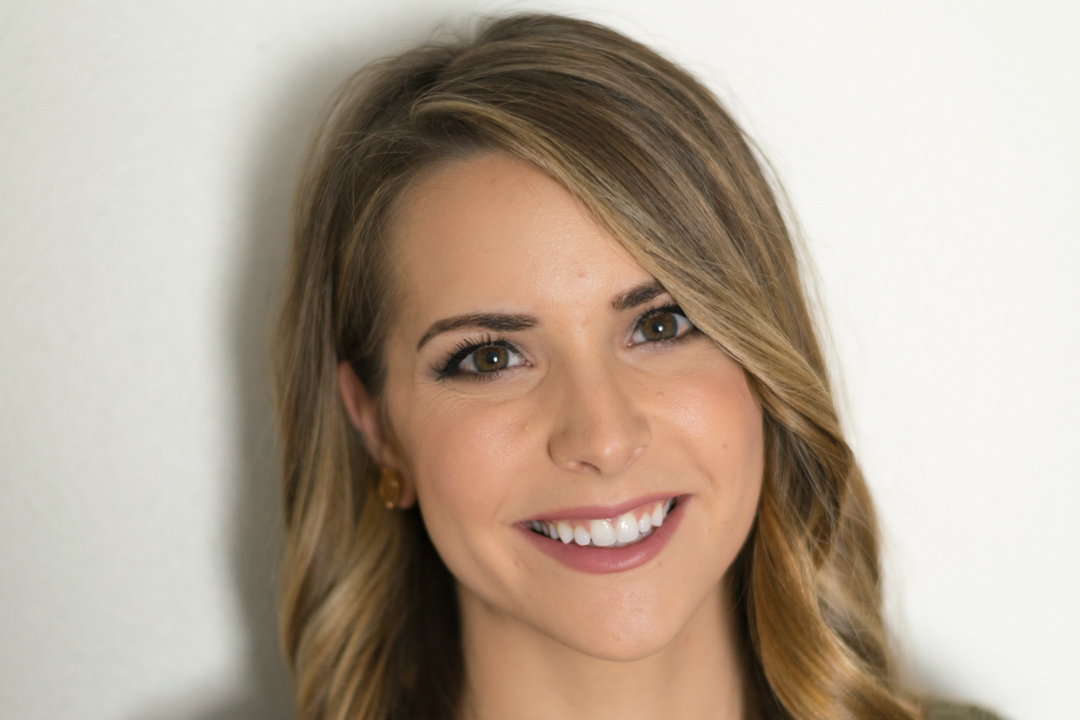
And you’re done!
Brows are such a crucial step in your makeup routine, and can totally transform your look. After filling yours in, your face actually appears thinner! Bonus!
I hope that was easy to understand — please comment if you have any questions! Remember, brows are SISTERS, not twins. 😉 It took me a ton of practice to get my brow routine down, so if this is you’re first time trying to fill in your brows, try to have patience. It easily takes up the most time in my makeup routine, but the results are worth EVERY second. (I mean, did you see the before and after?!)
Thanks for reading! xx
SHOP THE POST:


literally never thought to trim AFTER filling in..genius! not going to lie, I totally have slacked on brows until the past few months but now if I am super rushed and miss doing them in the morning (because yes with a toddler you do legitimately forget whole steps of your make up routine ;-)) I can totally tell the difference all day!